Social Icons

Featured Posts

пятница, 11 апреля 2014 г.

Gradient shading guide


Hi everyone,
I’m back! Yay.
Finally got out of the terrible creativity crisis, during which even the idea of holding a brush in my hand seemed something utterly repulsive. It actually hit me after I tried to paint something for the Iron Brush contest - needless to say I failed.
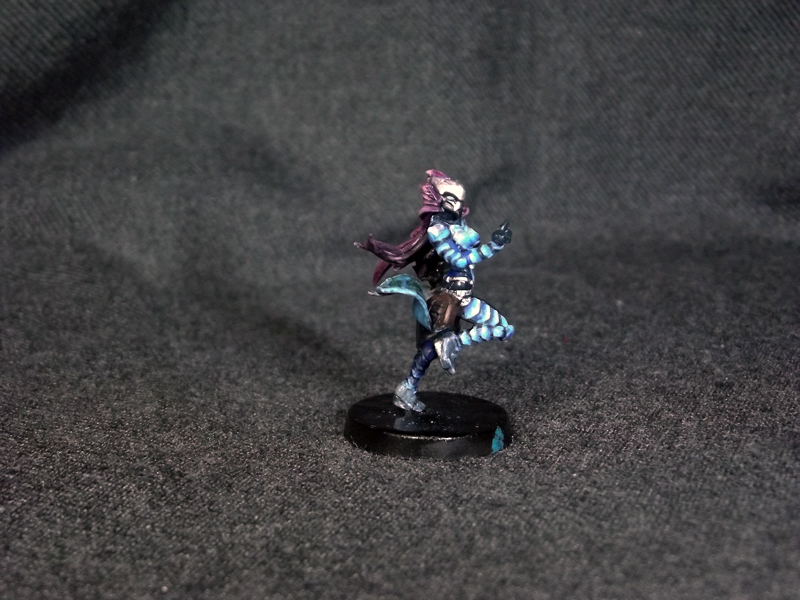
It’s not that I failed, actually, but I quickly realised that it was a great mistake to choose the elaborate Sheskiin as the painting object, and as I was painstakingly trying to make her look nice, I only screwed everything up. Blimey.

But, several days ago I took the brush once again, and I started from scratch to regain my skill. Imetron does not have many details and is pretty easy to work with, so before ruining some of my treasured models I worked on this one instead.


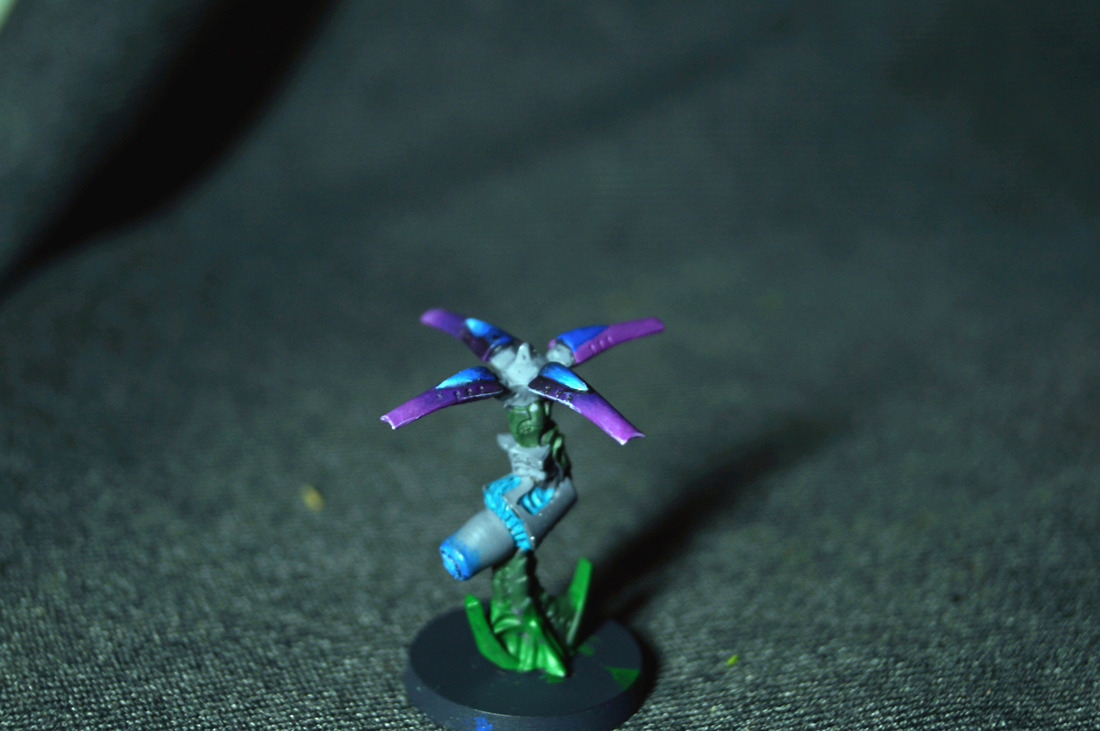
More importantly, I decided to make a small guide on gradient painting. I uploaded alpha-version to my Tumblr, but somehow the example pictures lacked contrast. Here is the beta version with better examples.

We start off with applying base colors. I use Vallejo purple and royal blue, as you can see on the left petal (highlighted).

Next we apply a bit of white on the tip of the petal (you don’t need to be accurate):


Next, we use heavily diluted purple to cover our white mark on the tip. Then I used a darker shade of purple, which was Vallejo Heavy Violet. After that we apply black colour, heavily diluted as well, at the stem of the petal.

Tip: if you are not sure of what the consistence of your paint should be, wipe the brush against your skin or fingernail. The colour trace left by the brush should be weak and semi-transparent.


As you can see, the colour shift is vivid, which we do not need, so we apply more and more thin layers of paint to make it look smoother. Again, more water, less pigment.


After finishing this part, we may practise on something tougher. It all works with the same principle. just add water and don’t be afraid to ruin everything. It can easily be fixed.


And your gradient is done! You’re awesome!


And I still have a lot of other details to work on.

I would really appreciate your feedback!


четверг, 5 декабря 2013 г.

Brushing the dust away

I haven't abandoned my blog - I'm just lazy as hell.
A brief review on my updates:
The Shrouded Sniper (base colors), I don't feel like painting him now, so he waits for his turn.


Speculo Killer converted (base colors again), I'm getting down to her soon, as soon as I finish the model mentioned below:

Ko Dali, in progress. I finally managed to make her face look more or less alive and figured out how to make her eyes glow (my original idea was very naive - I painted them with golden metallic, and it naturally failed. Here I finally came to pointing her eyes white and washing them with heavily diluted yellow paint). I worked a bit on her armor, as you can see. 

All for now.

понедельник, 7 октября 2013 г.

Zerat Hacker is finished!

Yay! I've finally made it, my Zerat Hacker is finished! A bit too shiny because of the varnish, but still, I think she is nice for the first painted mini.

And here is also a sneak-pic of what I'm going to paint next. This is The Shrouded Sniper aiming at barely visible Reverend Moira of Nomads from Bakunin. I've put only base colours on the sniper and played one game, which ended in my victory.

Thanks for following me! More stuff is coming soon.

понедельник, 23 сентября 2013 г.

A small glitch

Unfortunately, no update will be available today or this week at all. It's all because I found out the hard way that PVA glue doesn't work that fine if you want to put sand on your miniature's base. Besides, I should repaint my Zerat's hair, which I intend to do on weekend.
Whoever reads this - stay tuned, you're awesome.

суббота, 21 сентября 2013 г.

Stage 3

Guess I've missed yesterday's update. If anyone does read it - I'm sorry. I've been busy with studying and such.
Stage 3 is full of dramatic changes. I rethought the colour of Zerat's scroll and rifle, but most importantly, I've made the base with the help of my sweet boyfriend. 
Tomorrow, hopefully I shall finish her and start painting a new miniature.


четверг, 19 сентября 2013 г.

Stage 2

Hey everyone, it's me again. Guess what, I've been offered a job today. Going for an interview tomorrow. If everything is okay, I will be teaching children English twice a week for a reasonable wage.

But neverhless, we return to my painting progress. On stage 2 I added gradients to the right side of the body, but since I was pressed for time, I had to leave the other side the way it was.


среда, 18 сентября 2013 г.

Introduction

Hello everyone. My name is Sankari, this is my first post on Blogger and it will be dedicated to my hobby.

I believe that you know what wargaming is. If you don't, there's always an article on Wikipedia. I am part of the wargamers' club in my town, but they mostly play Warhammer 40K. I play Infinity.

But it wasn't until the beginning of the summer that I began purchasing models for my army (actually most of them I received as gifts from my boyfriend). In case you don't know, models come in a set of parts that need to be assembled and painted. Of course you can have it done for you, but doing it youself is much more entertaining!

The first model I took up painting is Zerat Hacker. I'm going to present my step-by-step work in progress and hope to receive feedback from you, whether you are an artist or not.
I am about to finish the model, but nevertheless, I shall start with the first stage:


These are the base colours and first highlights. I use Vallejo and Citadel Paints, particularly Vallejo Royal Blue (armour), Vallejo Purple (hair), Vallejo Ice Blue (scroll and armour highlights, eyes), Citadel Incubi Darkness (gloves and trousers), Citadel Sibarite Green (hexagons on scroll), Citadel Mythril Silver (helmet and belt), Citadel Scorched Brown (bag), Citadel White Scar (hair highlights).

Good things come in small packages, so I will show the next stage tomorrow. Good day to you.